Welcome to the first start of Automatic Email Manager
Please find the basic steps to get started.
Discover the key concepts in 1 minute
Set up in 4 steps
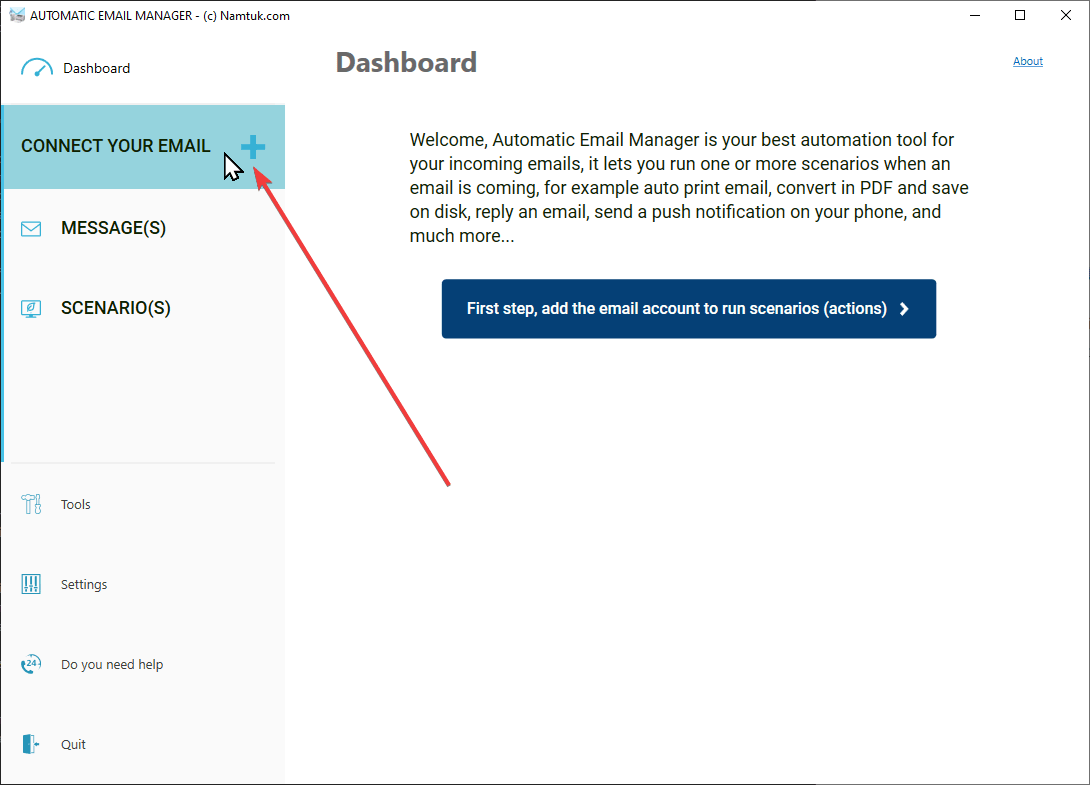
1. Add your email account
To print, save, ..., your emails, you must indicate which e-mail box receives your documents (orders, invoices, delivery notes, etc.). Please click on 'Your account(s)' tab, then 'New account'.
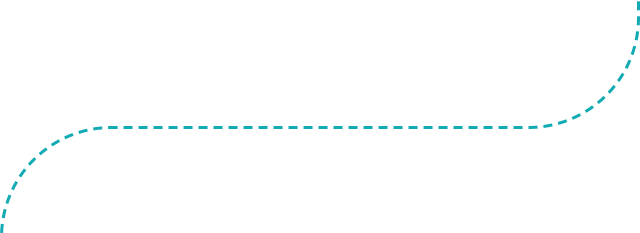
2. Settings for email account
When you enter your email, it will try to detect the settings and prefill the fields, if you use a Gmail or Office365 account don't forget to click on the button 'Test connection', this is important to authenticate the account. By default, it will process unread emails on the last 7 days, you can change that by clicking on 'More options'.
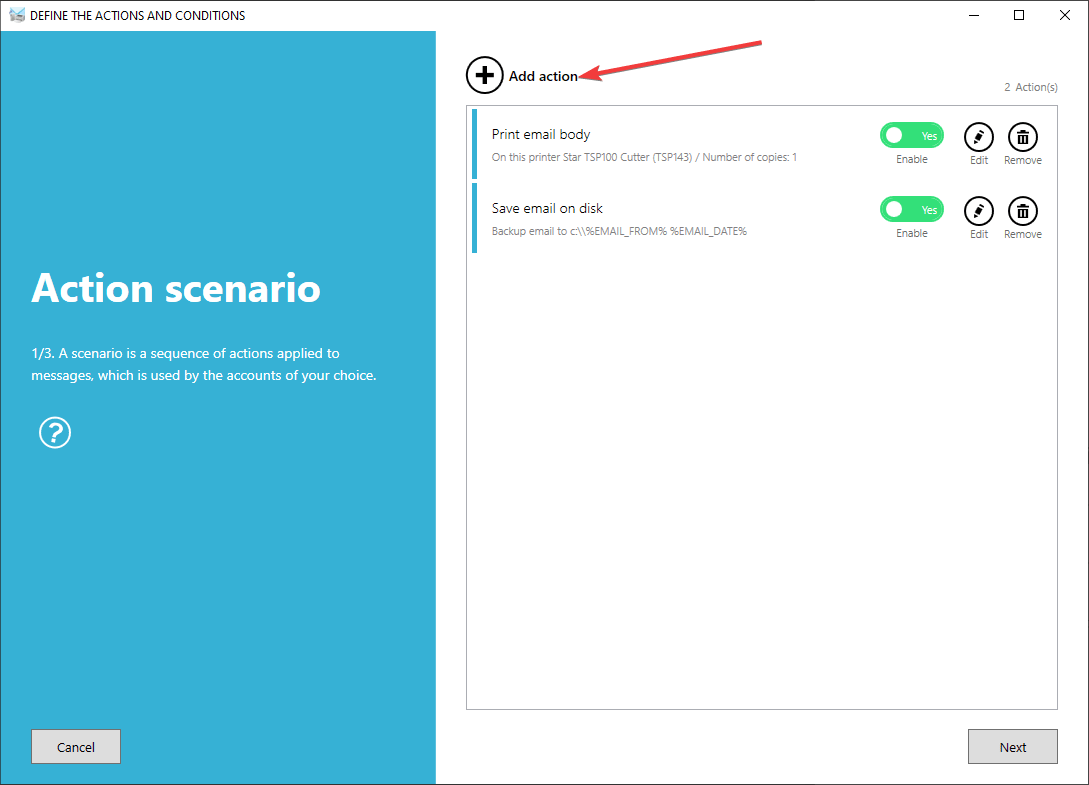
3. Select your actions
Actions are grouped in a group of actions, that's mean all the actions (print, save, convert in pdf...) are in a group and processed in the order they are listed. You can choose multiple groups of actions for an account.
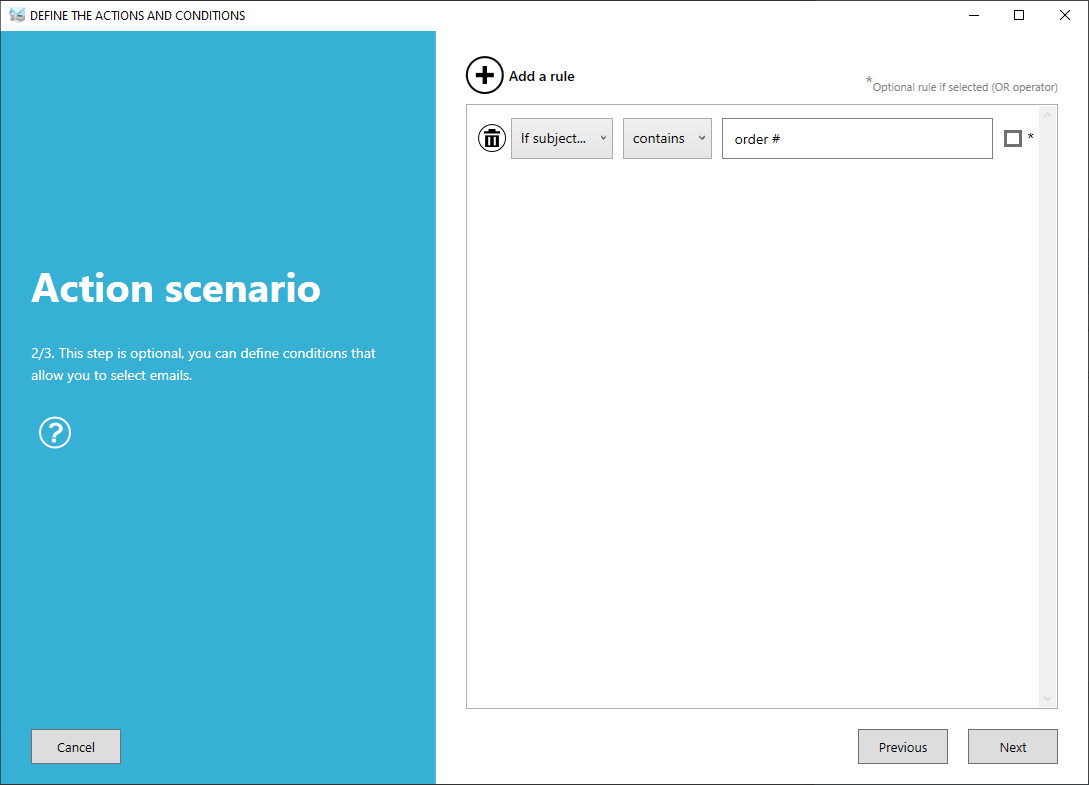
4. Target the emails
If you do not want to process all the emails that come in your inbox, you can add rules in the condition panel of the group of actions to filter the email you want to process.